You’ll find 23 cheap pot transformations that turn thrifted terracotta and dollar-store plastic into stylish planters with simple steps and low-cost supplies. I’ll walk you through easy textures, decoupage, paint tricks, and quick seal finishes so you can pick a project that fits your time and skill level. Start with basic prep—clean, sand, prime—and you’ll be ready to try a technique that looks pro without the price tag, but one idea here might surprise you.
Mortared Paper Mâché Planter
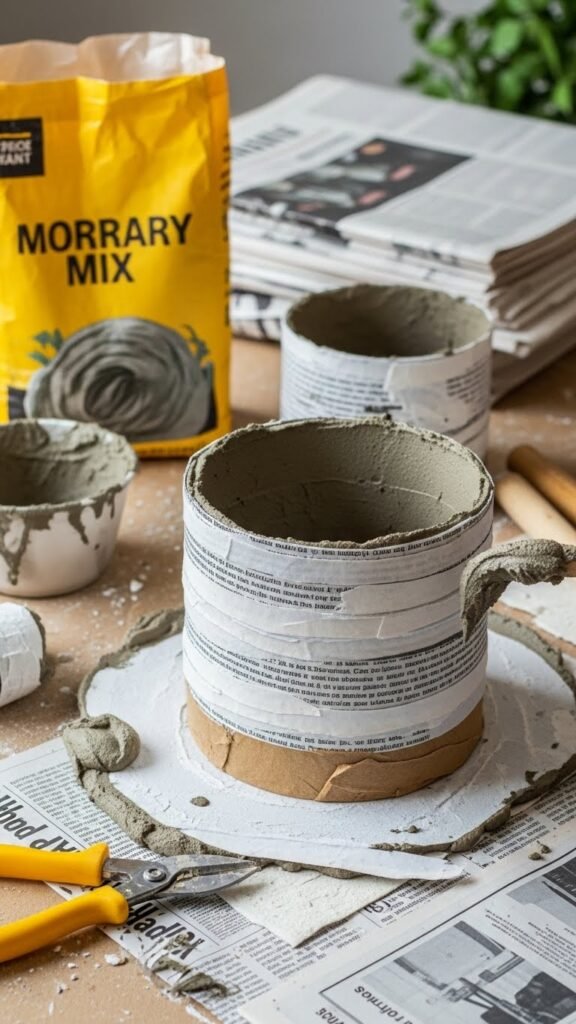
Starting with just a few cheap materials, you’ll turn old paper and a basic mortar mix into a sturdy, stylish planter that looks way more expensive than it is.
You’ll layer soaked strips, press mortar technique into seams, smooth for consistent paper texture, let cure, sand lightly, and seal.
It’s cheap, freeing, and practical—perfect for DIYers who want bold results without waste.
Cork-Embedded Textured Pot
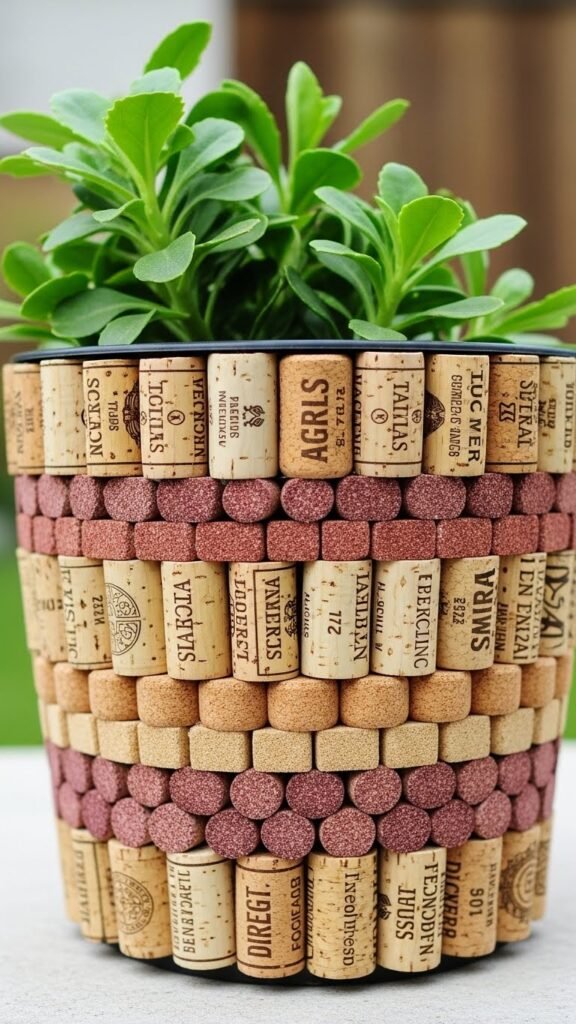
Grab a handful of wine corks and an inexpensive pot base, because embedding corks into a planter is a fast, budget-friendly way to add texture and insulation.
Cut corks, arrange cork mosaics, glue them in rows. Sand edges, seal with tactile glazing or matte sealant. Let dry.
You’ll have a lightweight, grippy pot that’s affordable, personal, and ready to hold your freedom-loving plants.
Swishy Branch Marked Surface

If you liked the tactile cork mosaic, try adding organic markings with twigs and branches to give your pot a swishy, nature-made surface. You’ll press a swishy branch into wet clay or joint compound, lift carefully, and repeat around the pot. Let dry, sand light spots, then seal with cheap matte spray. It’s freeing, simple, and budget-friendly.
Crumpled-Paper Chunky Texture Pot
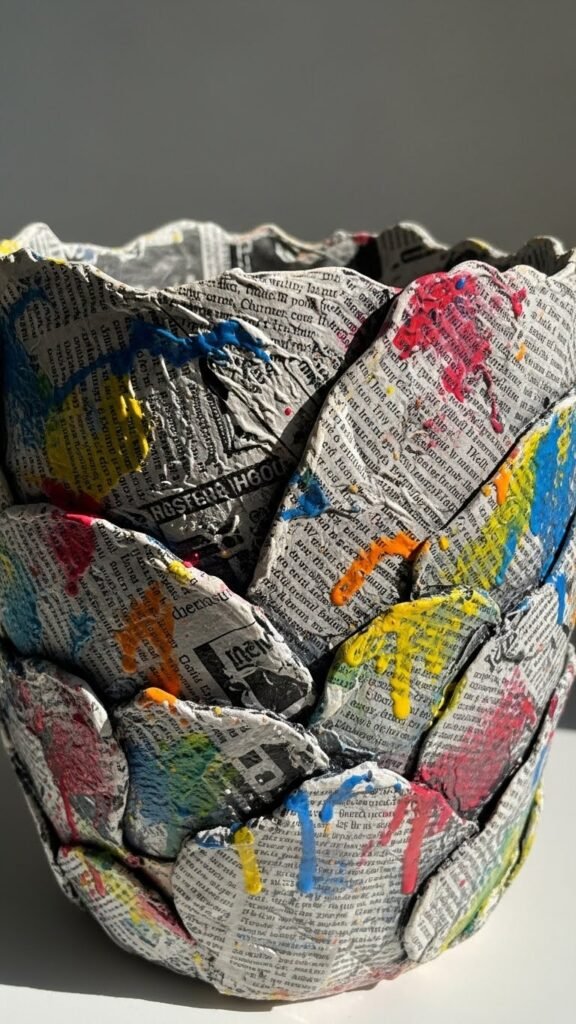
Crumpling paper into chunky textures gives your pot a bold, tactile look without costing much—you’re basically layering torn paper and joint compound or papier-mâché paste to build up ridges and pockets that read like sculpted clay.
Start with recycled newspaper wads, press and glue, add embossed crepepaper for highlights, sand lightly, then paint or seal. You’ll get a rugged, free-spirited finish.
Vintage Book Page Decoupage
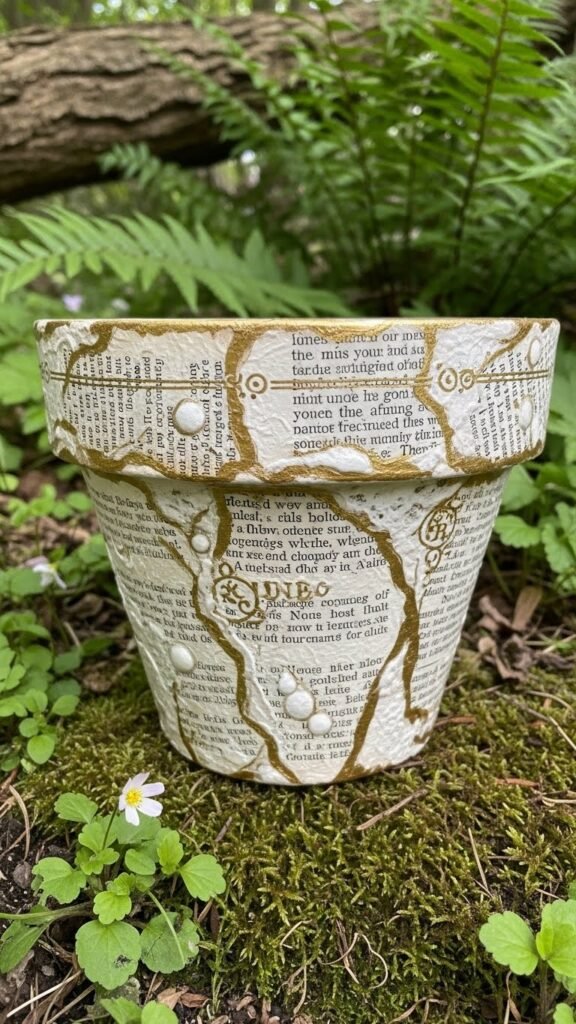
Vintage book page decoupage gives your pot an instant storybook charm without blowing your budget. Tear pages with antique typeface, plan layout, and glue pieces in flowing strips. Smooth bubbles, let dry, sand edges lightly.
Add delicate gilding sparingly for pride and polish. Seal with matte varnish so your pot stays rugged and free-looking—ready to hold plants and memories.
Tea-Stained Magazine Strip Pot

A tea-stained magazine strip pot is an easy, low-cost way to upcycle glossy pages into a warm, rustic planter that looks far pricier than it is.
Tear magazine strip pieces, brush on DIY staining tea solution, wrap and glue snugly.
Let dry for a vintage patina.
Seal lightly to protect.
You’ll enjoy a liberated, budget-friendly pot with character.
Mod Podge Layered Rustic Flower Pot
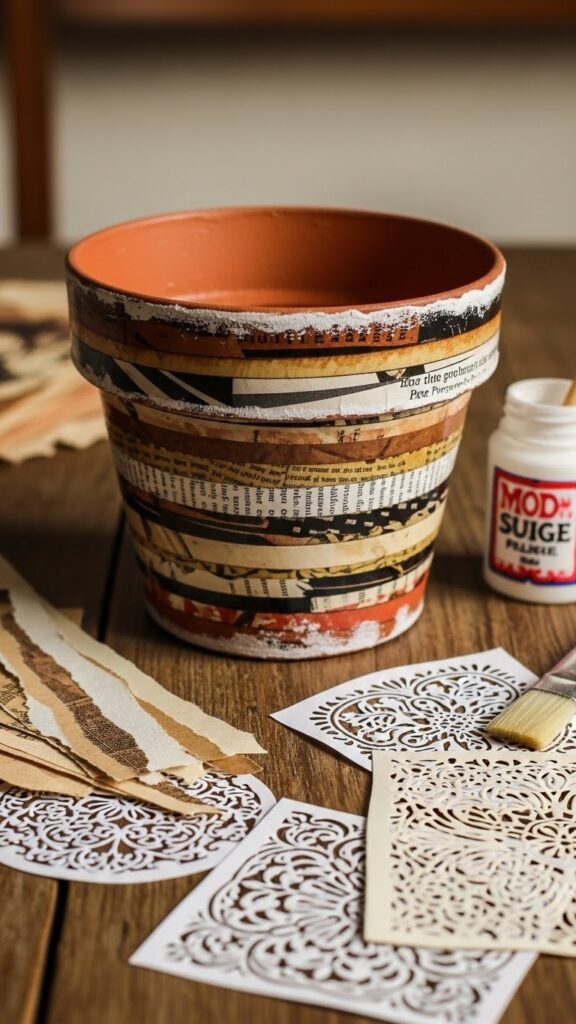
If you liked how the tea-stained magazine strips gave an old-world look for almost nothing, you’ll enjoy making a Mod Podge layered rustic flower pot next—it’s just as cheap and even more forgiving.
Start with a thrifted pot, tear paper, glue in layers, sand edges. Add floral embossing stencils, finish with layered sealing coats. You’ll free your style, save money.
Moss-Patch Faux Stone Pot
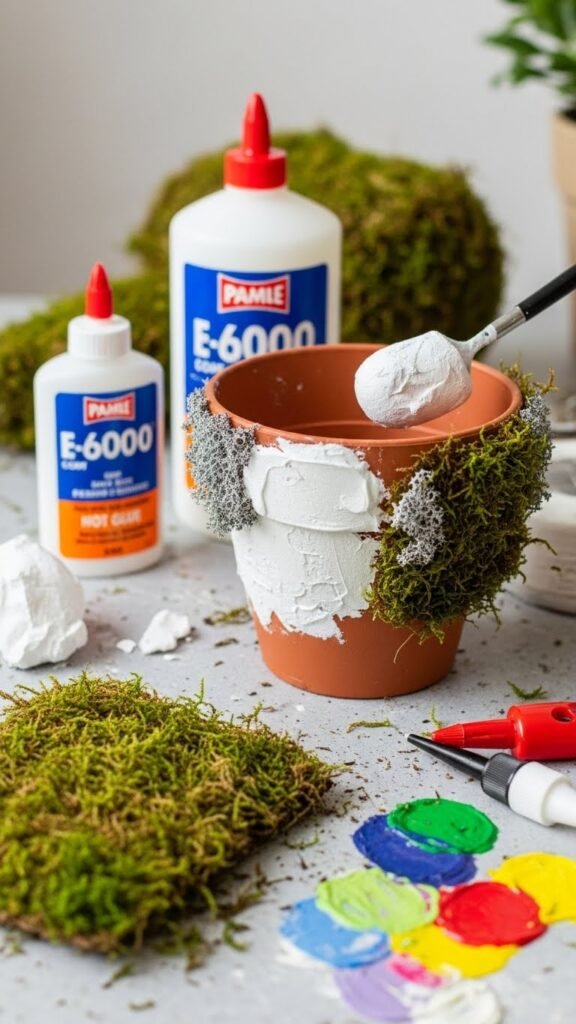
Often you’ll start this project with a plain, inexpensive pot and a small handful of materials: sheet moss, joint compound or lightweight spackle, a glue that grabs (like E6000 or hot glue), and some paint scraps. Press spackle blobs, press sheet moss, secure with glue. Dab paint scraps for depth, add faux lichen touches. Mount for living walllets or lone free-spirited planters.
Sand-Textured Stone Effect Pot

Start by roughing up your plain pot so the patchy sand texture will grip—lightly scuff the surface with sandpaper or a wire brush, wipe away dust, and set out a cheap tub of joint compound, fine sand, and matte paint.
Mix compound with sand, apply in thin patches, sand once dry, then add matte paint and a thin granular glaze for a weathered finish you’ll love.
Black Chalk Paint Terrazzo Base

For a bold terrazzo base, grab an inexpensive black chalk paint — it gives you deep, matte coverage that hides flaws and makes your chips pop.
Paint two thin coats, sanding lightly between. Press chip shapes, seal with matte varnish for a true matte terrazzo finish.
Finish with subtle grout freckling using watered-down white paint to add vintage, carefree charm.
Paper Terrazzo Chip Pot

Grab some scrap paper and glue — you’re about to make colorful terrazzo chips without spending a lot. Tear paper into small shapes, mix with glue as recycled paper aggregate, press onto a plain pot, then seal. Play with terrazzo pigment blending in tiny batches to control color. Let dry, sand lightly, and enjoy a lightweight, budget-friendly pot that reflects your creative freedom.
Wrapped Colorful Yarn Planter
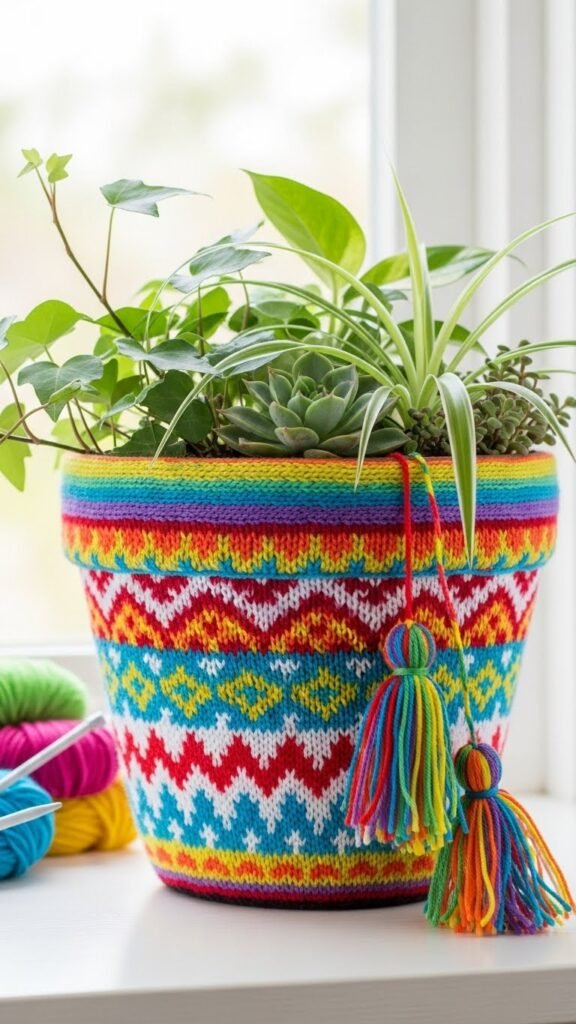
Wrap yarn around an old pot and you’ll turn something plain into a vivid, cozy planter without spending much. Choose a colorful wrap pattern, secure yarn with glue, and wind tight rows.
Add a yarn fringe base or tassels for movement. Trim ends, seal with a clear spray if you like, then plant something hardy. You’ll free your space and budget.
Rope-Wrapped Indoor Planter
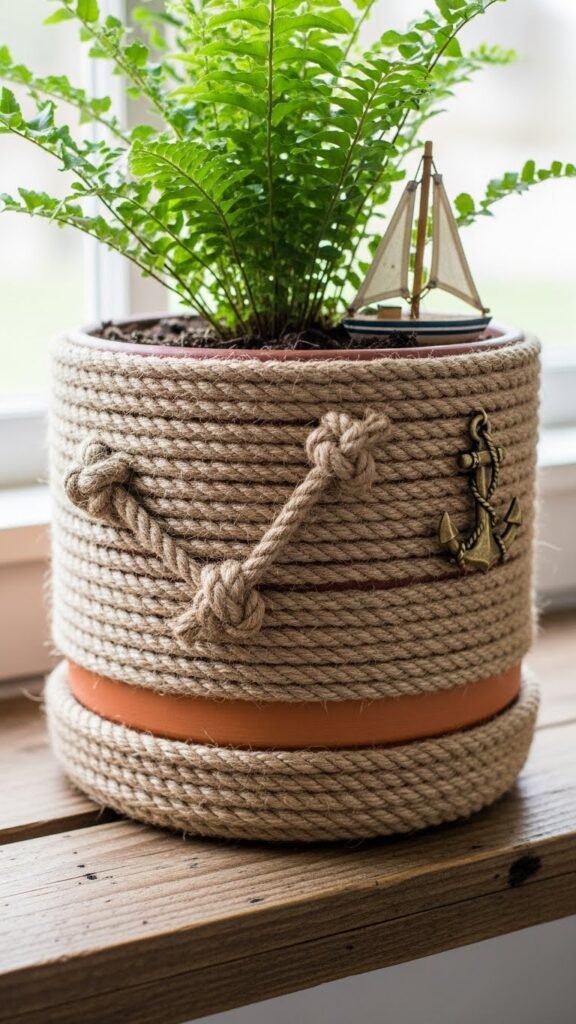
You can keep that painted look and give it a cozy, textured upgrade by adding rope around the pot—it’s an easy, budget-friendly way to make a plain planter feel handmade and warm.
Start by measuring, glueing rows of rope, trimming neatly, and adding knots or nautical accents for flair.
make sure indoor drainage is maintained and enjoy a free-spirited, low-cost makeover.
Spray-Painted Trash Can Planter
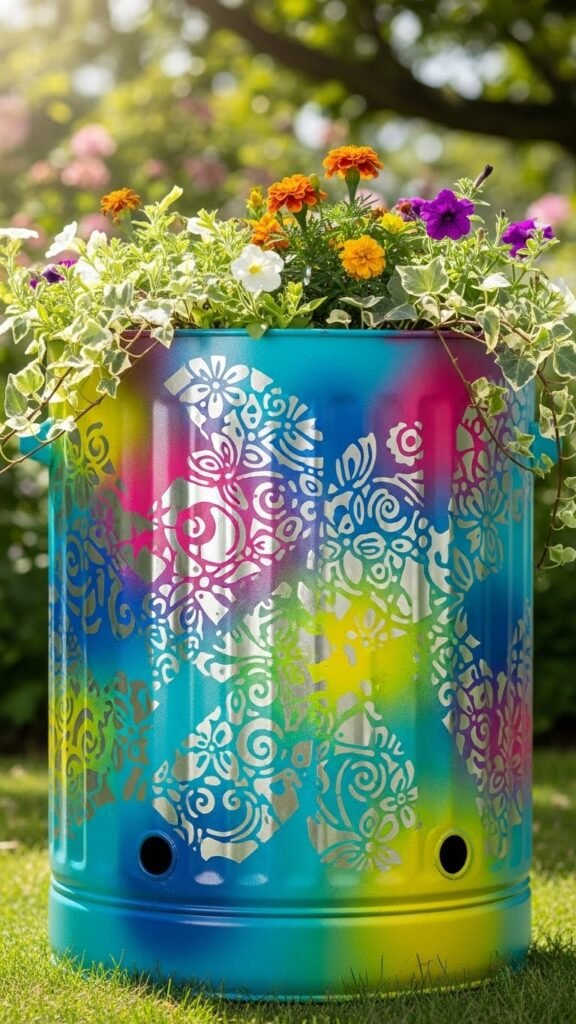
A metal trash can can make a surprisingly stylish planter once you give it a quick spray-paint makeover—it’s cheap, fast, and kid- and pet-safe when you pick the right paint.
Clean, sand, and spray outside. Add metallic stenciling for flair. Drill urban drainage holes, seal edges, add soil and plants. You’ll have a free-spirited, budget-friendly pot in minutes.
License Plate Upcycled Planter
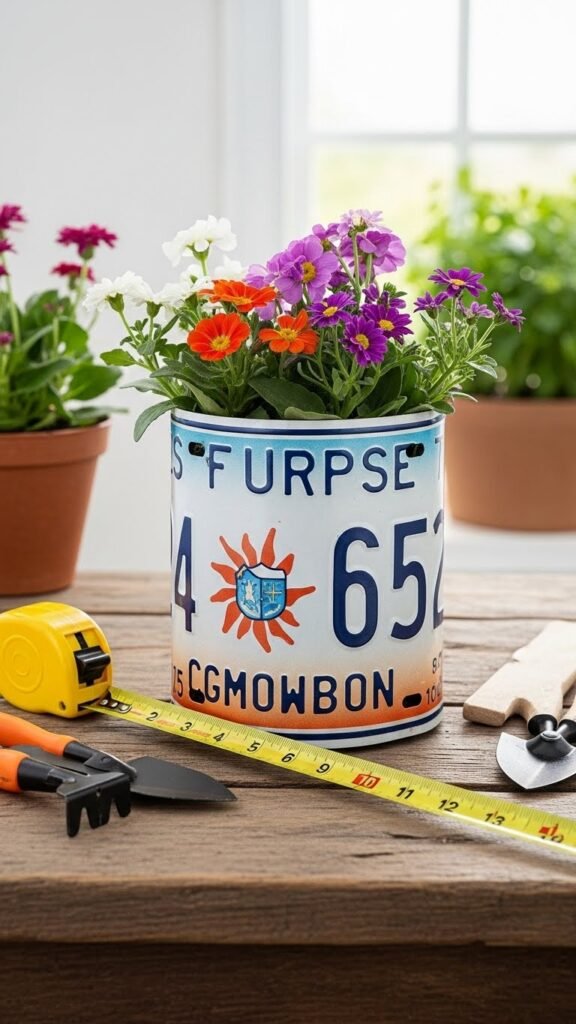
Turn an old license plate into a clever, budget-friendly planter by bending it into a cylinder or wrapping it around a small pot—it’s quick, kid-friendly, and full of rustic charm. Measure plant size, cut safely, bend edges, drill drainage holes, and secure with screws or wire. Use a vintage license tag for character. You’ll have a rugged plate planter that’s free-spirited and thrifty.
Geometric Straw Hanging Planter

If you liked shaping that license plate, you’ll enjoy bending simple straws into a lightweight, eye-catching hanging planter that costs next to nothing.
Start by cutting straws to equal lengths, slotting and gluing joints to form hanging geometry.
Weave thin twine through the frame using basic straw weaving, add a small pot, and hang.
It’s cheap, quick, and liberating.
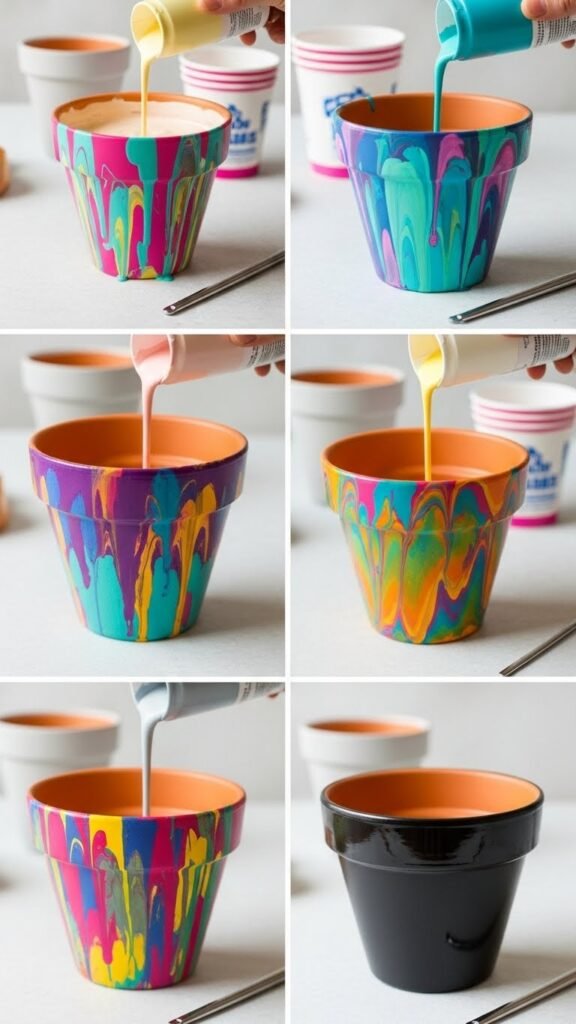
Acrylic Pour Terracotta Makeover
Starting with nothing more than cheap acrylics and a few disposable cups, you’ll transform plain terracotta pots into vibrant statement pieces without breaking the bank. Pour base coat, mix colors with pouring medium, flip or swipe for fluid cells, and dab metallic blooms for shimmer. Let dry, seal with matte varnish. You’ll free your style and save money.
Marbleized Terracotta Pot
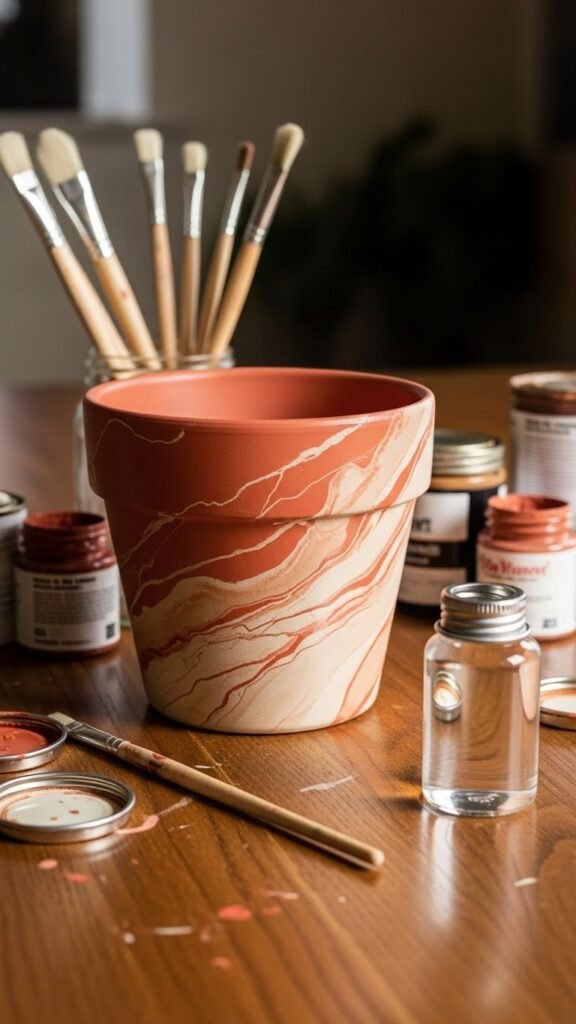
After enjoying fluid pours, you’ll love how marbleizing gives terracotta pots a clean, elegant look without extra cost. Start by sanding and priming.
Mix two paint colors, drag a dry brush for a veined finish, and work in light strokes. Let dry, then apply a glossy sealant. You’ll have a chic, budget-friendly pot that feels freeing and handmade.
Black and White Graphic Pot
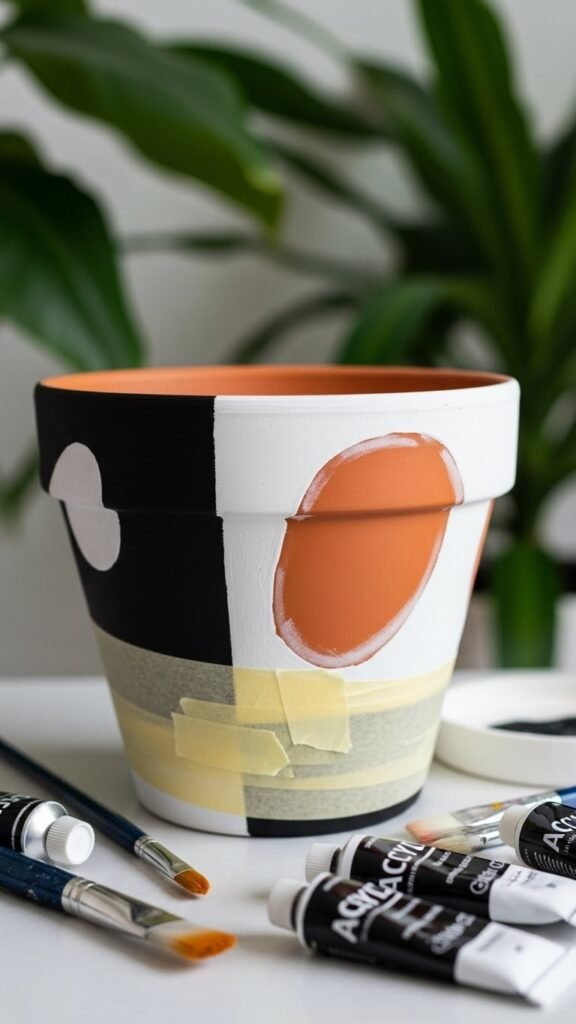
Graphic boldness makes a cheap terracotta pot look designer—grab black and white acrylics, a few brushes, and some painter’s tape to get started.
Tape off sections, paint solid black, then flip tape for monochrome stenciling.
Use contrast negatives to carve shapes with white.
Let dry, seal cheaply, and plant.
You’ll free your style without spending much.
Ombre Pink Decoupaged Pot
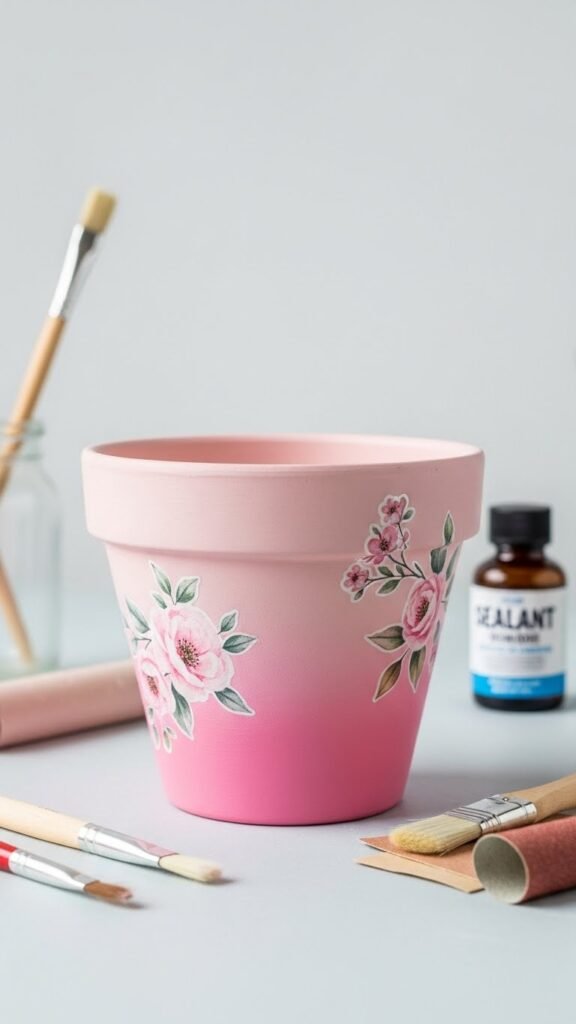
If you liked how bold black-and-white made a terracotta pot look high-end, you’ll love an ombre pink decoupage for a softer, feminine vibe that’s still cheap and simple.
You’ll sand, basecoat, blend ombre gradients from pale to blush, then decoupage floral decals. Let dry, seal cheaply.
It’s freeing, quick, and budget-friendly—perfect for gifting or styling your space.
Small Precision Painted Detail Pot
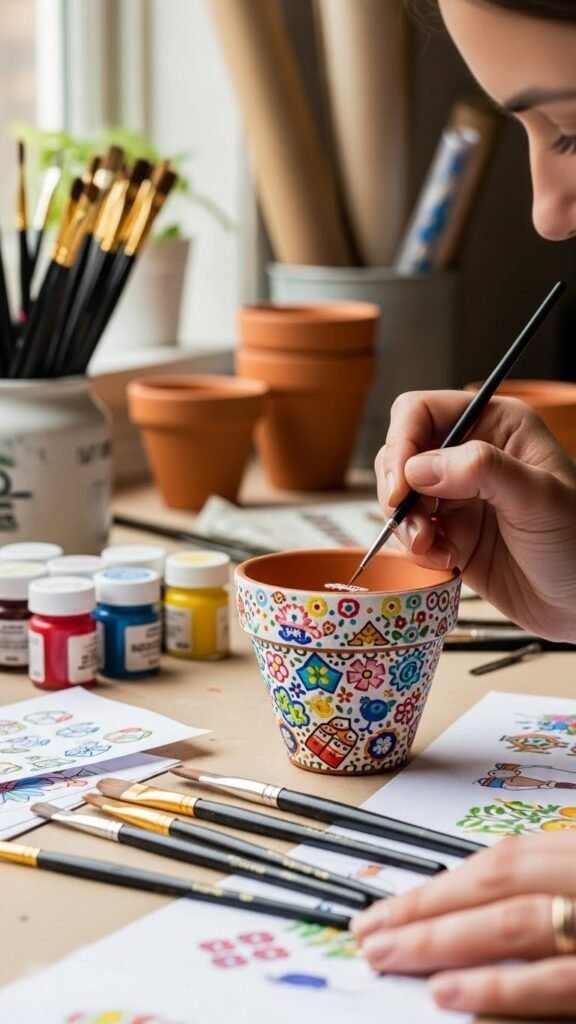
Grab a fine-tipped brush and steady your hand—small precision painted detail pots are all about tiny, deliberate strokes that turn a plain terracotta into a mini masterpiece without costing much.
You’ll sketch simple miniature motifs, block in colors, then use fine lining techniques for crisp edges. Work slowly, rinse brushes, and embrace imperfections—each pot reflects your independent, budget-friendly style.